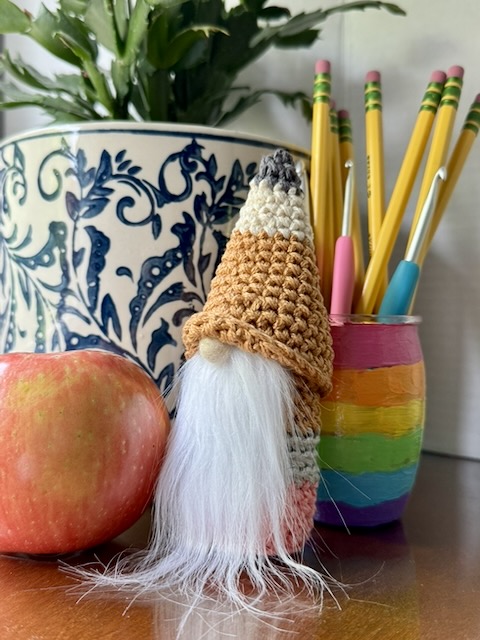
I’ve always been the worst at teacher gifts, truly. But one year I made crochet bookmarks for my kid’s teacher and they were a huge hit. Since then, I’ve been itching to come up with fun handmade gifts that fit into the teacher category. I love making cute gnomes, so I thought…how can I work school and teaching into the gnome theme? Pencil gnomes!
This pattern is super last-minute-friendly. It’s easy and only requires a few basic stitches. It’s great for stash busting, since you only need a little bit of each yarn color, and pencils come in pretty much every color you can think of. For this pattern, I used basic “pencil” colors, since I had them on hand.
You’ll need to know basic crochet stitches and terminology, including magic ring, single crochet, increases, decreases, back/front loop only, and changing colors.
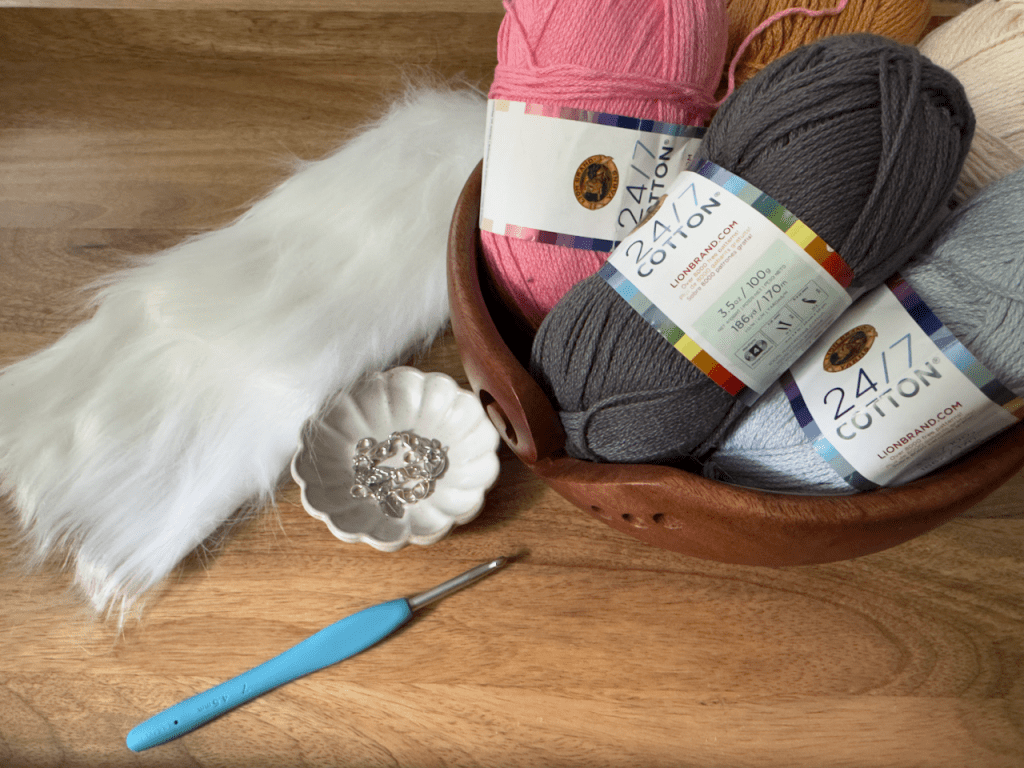
Supply list:
#4 worsted weight yarn in the following colors:
- Pink
- Light gray
- Yellow or orange
- Beige
- Dark gray
I used Lion Brand 24/7 cotton in Pink, Charcoal, Cool Gray, Ecru, and Camel
4.5mm crochet hook, or size matched to your yarn.
Weighted beads or rice
Polyester fiberfill (I used Poly-fil)
Small felted wool ball or wooden bead for nose (I like these)
Tapestry needle to weave in ends
Faux fur for beard (or you can use white yarn to make a beard)
Scissors and craft knife
Hot glue gun or craft glue
Stitch markers
Ready to get started? Here’s the Pencil Gnome Free Crochet Pattern:
Pattern Notes
Finished gnome is approximately 6 inches tall.
Abbreviations
- BLO = back loop only
- ch = chain
- dec = decrease
- FLO = front loop only
- FO = finish off
- inc = increase
- rnd = round
- sc = single crochet
- sl st = slip stitch
- st = stitch
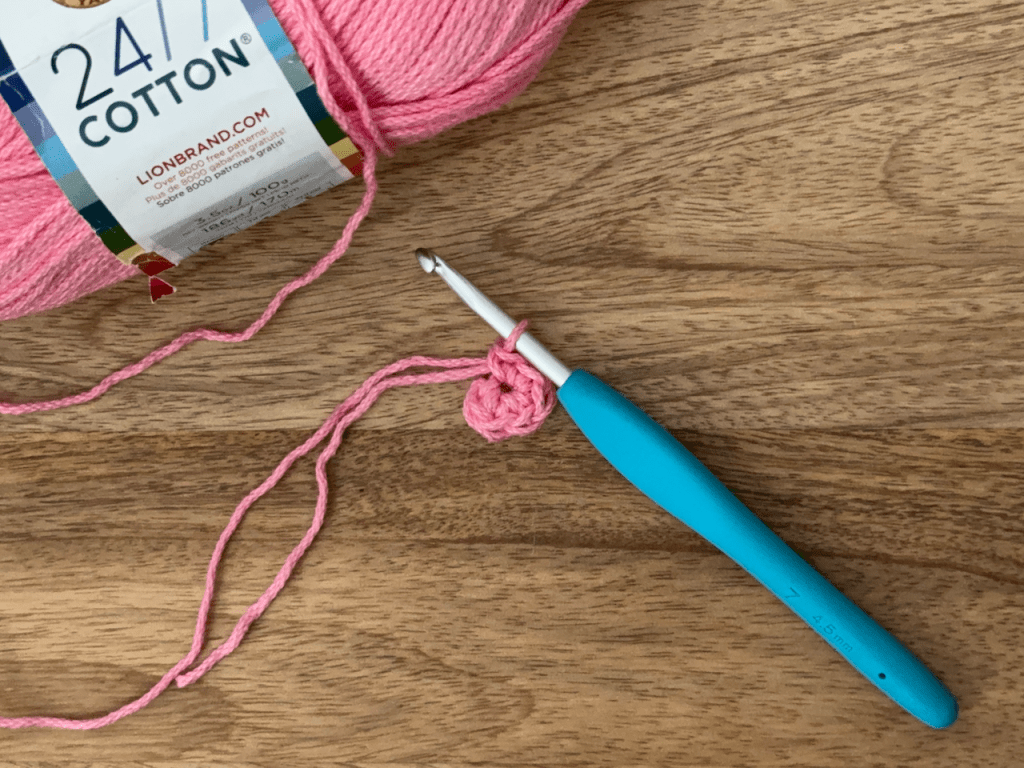
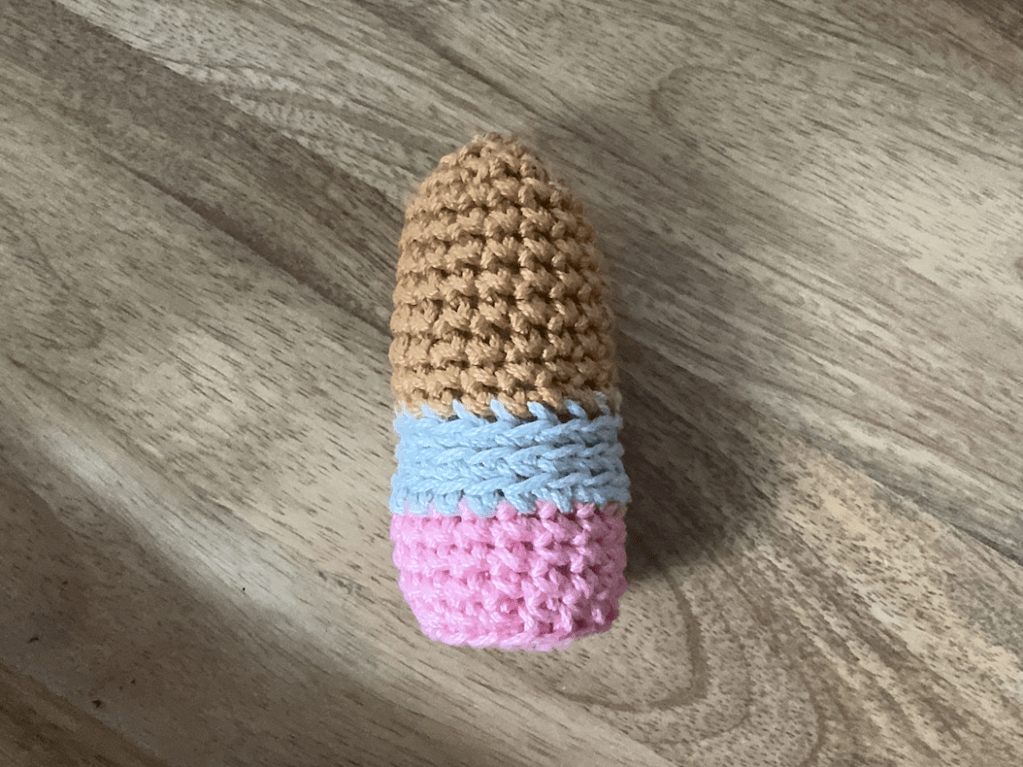
Gnome Body
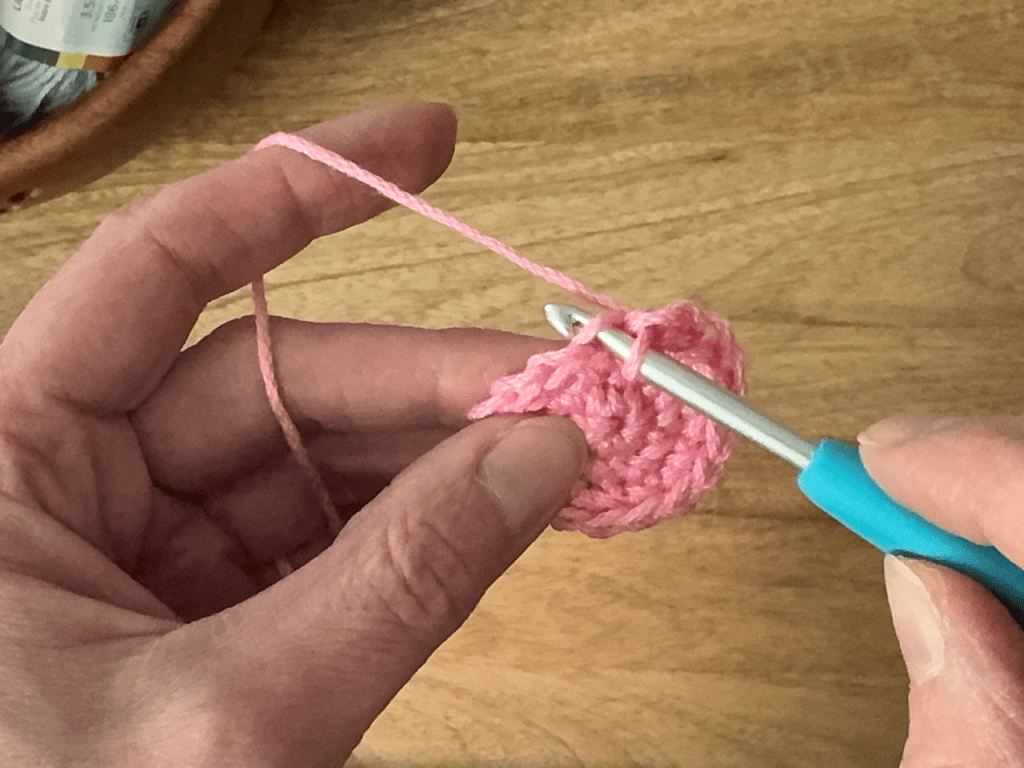
Rnd 1: Start 6sc in a magic ring (6)
Rnd 2: inc x 6 (12)
Rnd 3: (sc, inc) x 6 (18)
Rnd 4: sc in BLO around (18)
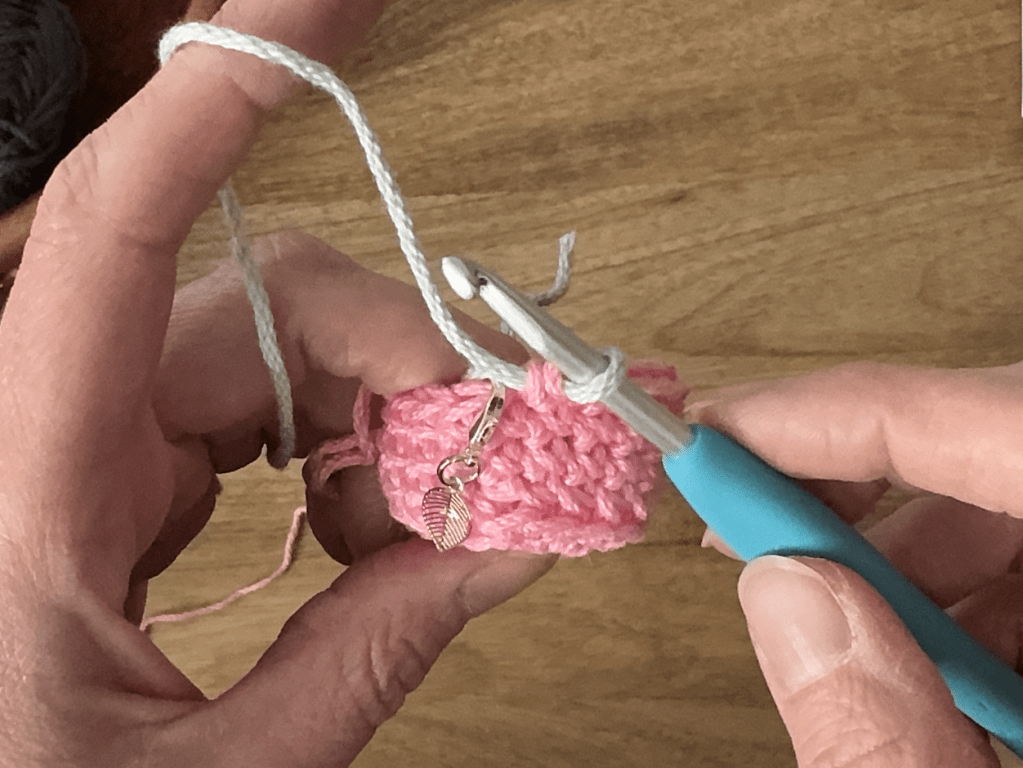
Rnd 5-7: sc around (18); attach light gray yarn in final yarn over of last stitch, FO pink yarn
Rnd 8: sc around (18)
Rnd 9-10: sc in BLO around (18); attach yellow yarn in final yarn over of last stitch, FO light gray yarn
Rnd 11: sc in BLO around (18)
Rnd 12-18: sc around (18) Note: If you want your gnome to be taller, add more rounds here, then continue with the pattern.
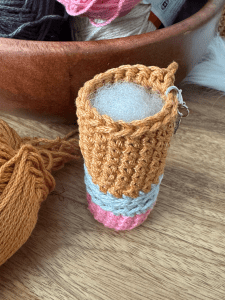
Start stuffing the gnome body. I recommend putting weighted beads or rice about halfway up, then add Poly-fil. Make sure your gnome is stuffed pretty firmly so it will stand upright.
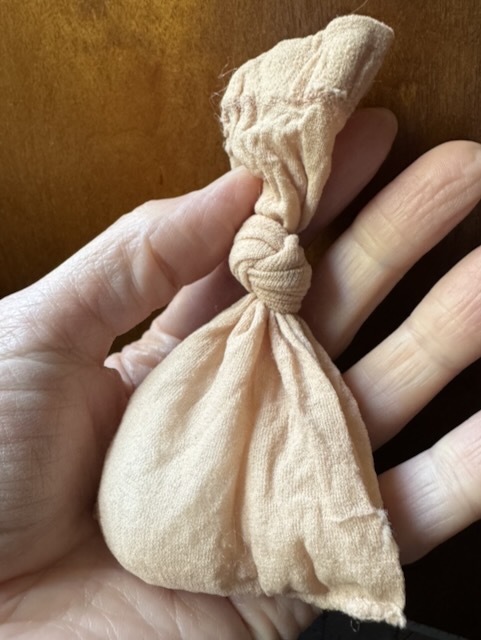
Tip: Consider putting your rice or beads in a try-on sock (I use these) so they don’t escape through your stitches.
Rnd 19: (sc, dec) around (12)
Rnd 20: sc around (12)
Rnd 21: dec around (6); FO and finish stuffing. Close top by weaving yarn tail through the front loops of the remaining 6 stitches. Pull tight.

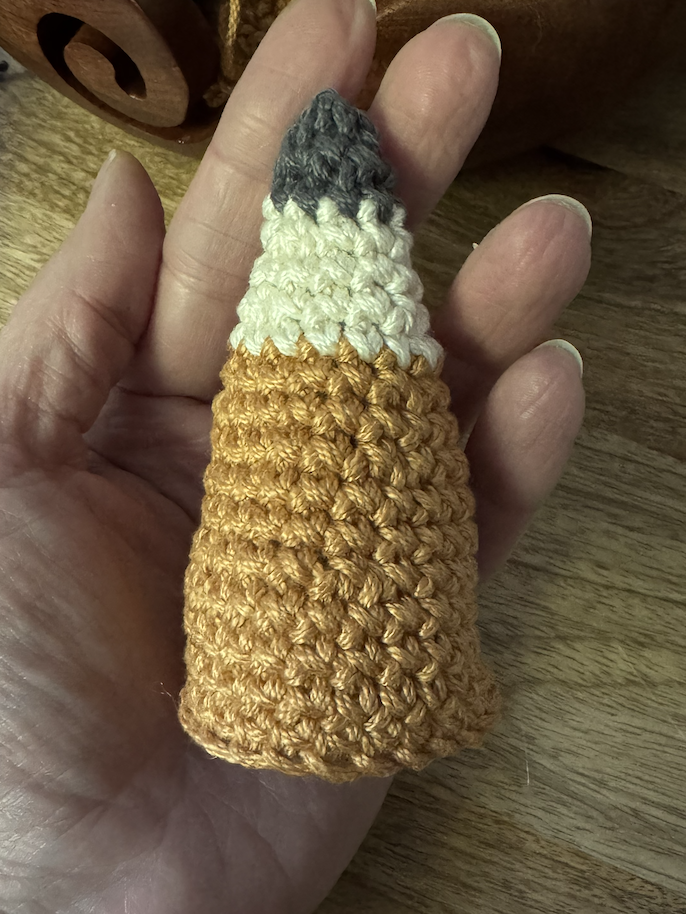
Gnome Hat
Rnd 1: In yellow, Ch 24 (24)
Rnd 2: Being sure to not twist the chain, sc in the first chain to form a circle. Continue sc around. (24)
Rnd 3-5: sc around (24)
Rnd 6: 6sc, dec, 3sc, dec, 3sc, dec, 6sc (21)
Rnd 7: sc around (21)
Rnd 8: (5sc, dec) around (18)
Rnd 9: sc around (18)
Rnd 10: (4sc, dec) around (15), change to beige yarn on last yarn over
Rnd 11: sc around (15)
Rnd 12: (3sc, dec) (12)
Rnd 13: sc around (12)
Rnd 14: (2sc, dec) (9), change to dark gray yarn on last yarn over
Rnd 15: sc around (9)
Rnd 16: (sc, dec) around (6). Fasten off and leave a tail for closing the top.
Using yarn tail and a tapestry needle, weave the yarn tail through the FLO of the remaining 6 stitches. Pull tight to close. Weave in yarn tails.
Assembling Your Gnome
Cut a small piece of faux fur yarn in your desired shape and size (mine is about 3 inches long and 1.75 inches wide). I find the easiest way to do this is to score the backing of the fur with a craft knife. If you cut it with scissors, you risk cutting the fibers as well and won’t get the same effect on the edges. Make sure the fur is long enough to extend beyond the edge of the hat brim. You don’t want to see the top edge of the fur.
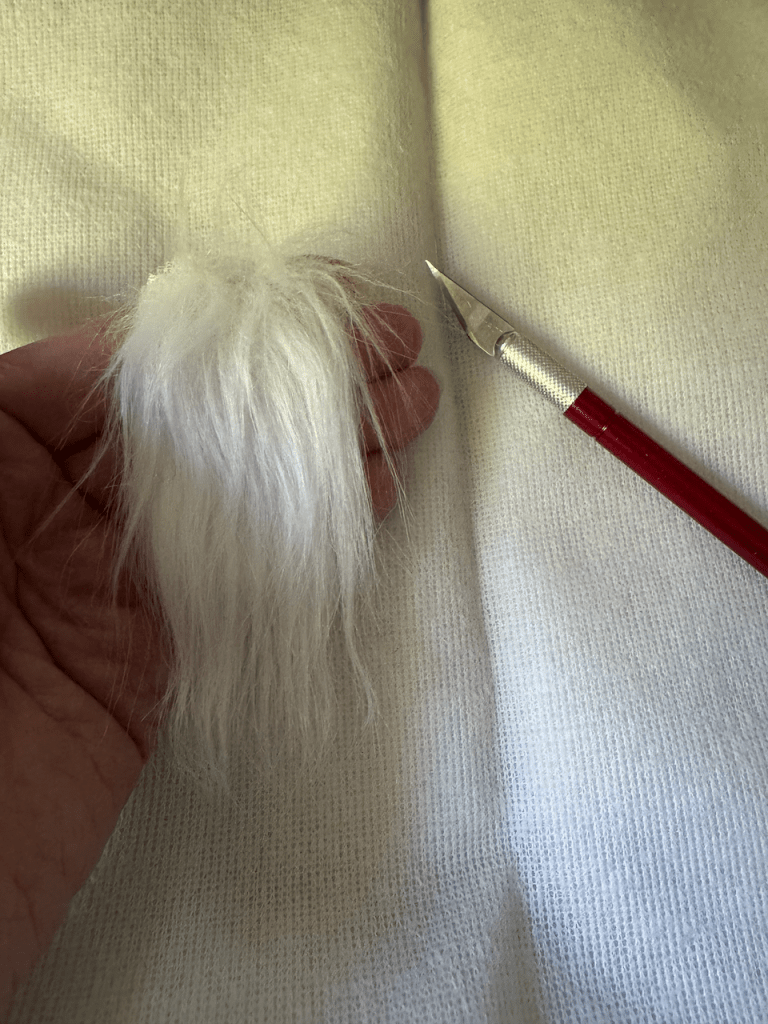

Using a hot glue gun or craft glue, attach the fur to your pencil body. If you want to cover the uneven edges from the color changes, you can place the fur over the back of your base to hide them.
Place the hat onto the gnome and fold the front of the brim up if you like that look. Figure out where you want the nose to go and hot glue it to the beard. Glue the hat into place (or if you prefer, you can secure it to the body with a few stitches in yellow yarn). Make sure to glue the nose to the hat to help it stay in place.
Enjoy your new pencil gnome, or give him as a gift!

Questions? Comments?