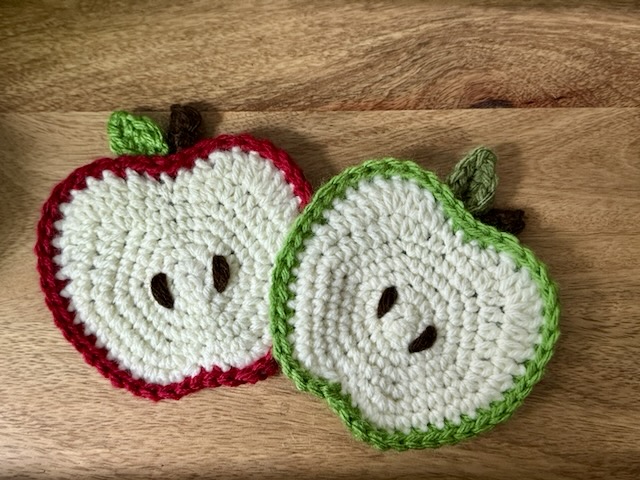
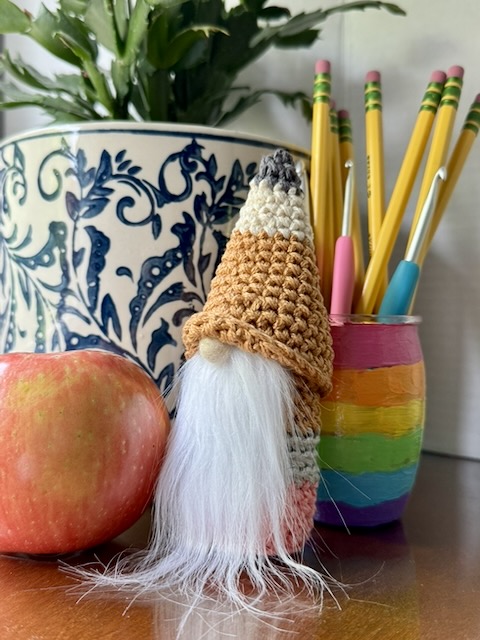
Need something to go with your pencil gnome? How about a set of cute apple coasters? Another great gift idea for teachers, and it works up super fast. It’s made by crocheting a solid color base and an off-white layer that is then crocheted together with the base. You could also sew the pieces together, but I hate sewing, so I look for ways to avoid it at all costs.
This is a beginner-friendly pattern that requires knowledge of chain stitches, magic ring, single crochet, half-double crochet, double crochet, and slip stitch.
Let’s get started! You’ll need:
Supply list:
#4 worsted weight acrylic yarn in the following colors:
- Green or red for apple main base color
- Cream or off-white for apple core
- Dark brown for stem and seeds
- A contrasting green color for leaf
My main colors are Lion Brand Pound of Love in Antique White, Loops & Threads Impeccable in Guacamole, and Loops & Threads Impeccable in a shade of red that has since been discontinued, but can be substituted for any bright red.
4.5mm crochet hook, or size matched to your yarn.
Tapestry needle to weave in ends
Scissors
Stitch markers
Apple Coaster Pattern
Finished dimensions are about 4×4.5 inches.
Abbreviations
- ch = chain
- dc = double crochet
- FO = finish off
- hdc = half double crochet
- inc = increase
- rnd = round
- RS = right side
- sc = single crochet
- sl st = slip stitch
- st = stitch
- WS = wrong side
Apple Core
Using cream (apple core) yarn:
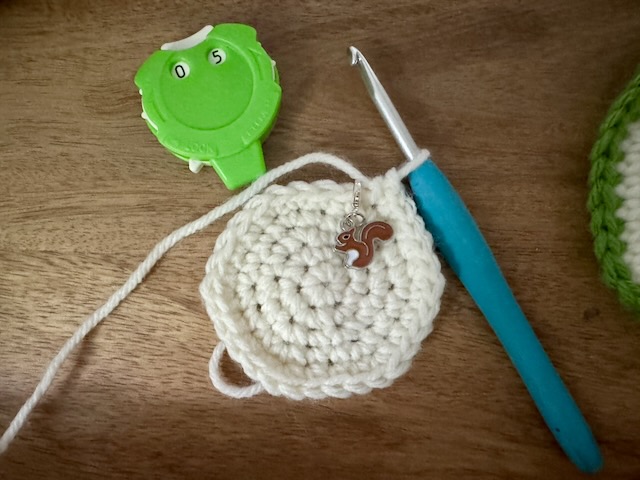
Rnd 1: 6sc in magic ring (6)
Rnd 2: inc around (12)
Rnd 3: (sc, inc) x 6 (18)
Rnd 4: (2sc, inc) x 6 (24)
Rnd 5: (3sc, inc) x 6 (30)
Rnd 6: sc, slst, sc, inc, 4sc, inc, 4hdc, 3hdc in next stitch, hdc, sc, slst, sc, hdc, 3hdc in next stitch, 4hdc, inc, 4sc, inc (38)
Rnd 7: 3slst, sc, inc, 5sc, inc, 2hdc, 2dc, 3dc in next stitch, 2dc, hdc, sc, slst, sc, hdc, 2dc, 3dc in next stitch, 2dc, 2hdc, inc, 5sc, inc, sc (46)

Finish off with an invisible FO, or slip stitch to the first stitch in previous round and weave in ends.
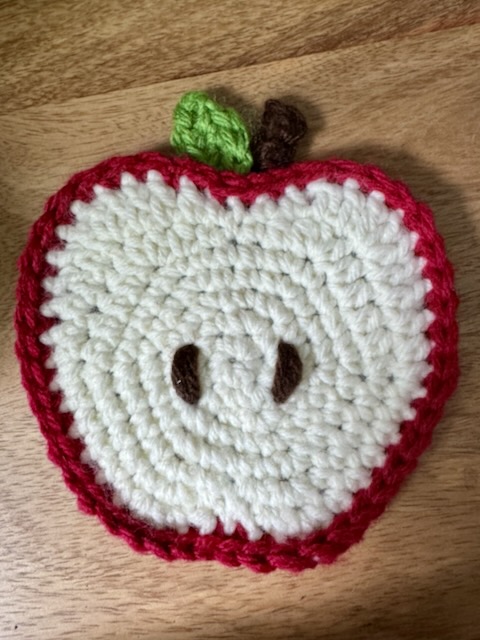
With a small amount of dark brown yarn, embroider two seeds onto the core and secure yarn on the back. I used a tapestry needle to make three long stitches through the same stitches top and bottom, then spread out the yarn to make the shape I wanted.
Apple Base
The base uses the same pattern as the core. Using green or red base color yarn:
Rnd 1: 6sc in magic ring (6)
Rnd 2: inc around (12)
Rnd 3: (sc, inc) x 6 (18)
Rnd 4: (2sc, inc) x 6 (24)
Rnd 5: (3sc, inc) x 6 (30)
Rnd 6: sc, slst, sc, inc, 4sc, inc, 4hdc, 3hdc in next stitch, hdc, sc, slst, sc, hdc, 3hdc in next stitch, 4hdc, inc, 4sc, inc (38)
Rnd 7: 3slst, sc, inc, 5sc, inc, 2hdc, 2dc, 3dc in next stitch, 2dc, hdc, sc, slst, sc, hdc, 2dc, 3dc in next stitch, 2dc, 2hdc, inc, 5sc, inc, sc (46)
Finish off with an invisible FO or sl st to first stitch and weave in ends.
Stem
Using dark brown yarn:
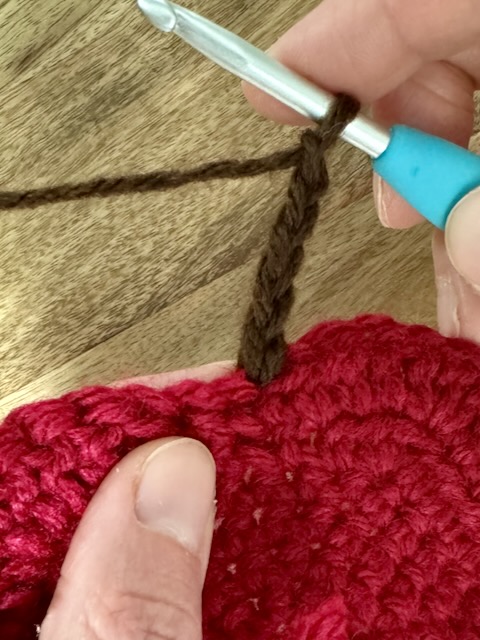
With wrong side of the base facing you, insert your hook into a top stitch and draw up a loop. Ch 5. In second chain from hook, sc. Sc in remaining chains and sl st into the same st on the apple base you started in. FO and weave in ends.
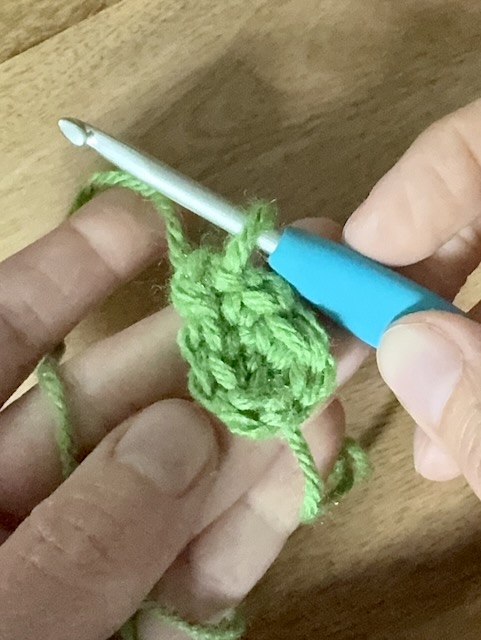
Leaf
Using green yarn:
Ch 4, leaving a tail for sewing. Beginning in second chain from hook, sl st, sc, 2 hdc in same stitch, ch 1, rotate to the other side of the chain, 2hdc in same stitch, sc, sl st. FO with a long tail. Using a tapestry needle, put a few stitches through the base of the leaf to secure it to the base.
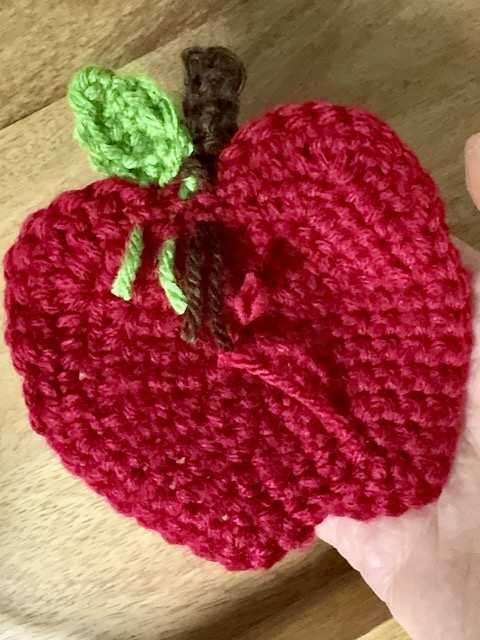
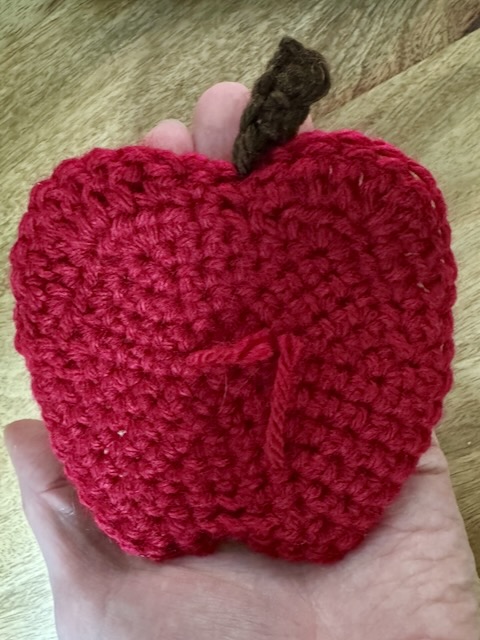
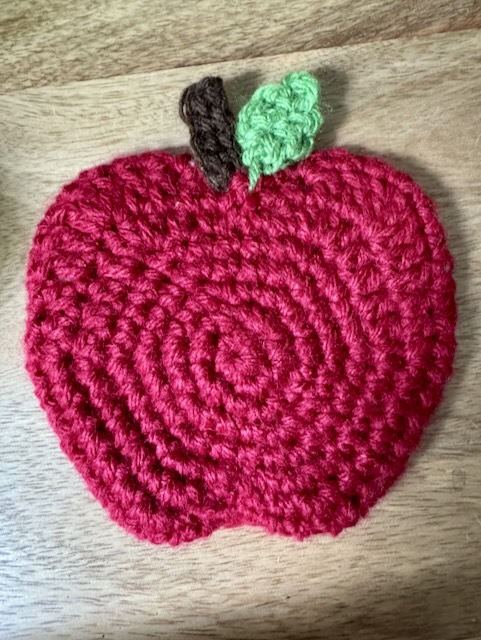
Your apple base should now look something like this. Finish weaving in the ends and make sure the stem and leaf are situated before joining the core layer.
Joining Base and Core Layers
With wrong sides together, hold core layer on top of base layer. Using green or red base color yarn, join yarn by inserting hook through the core layer first, then base layer, ch 1.
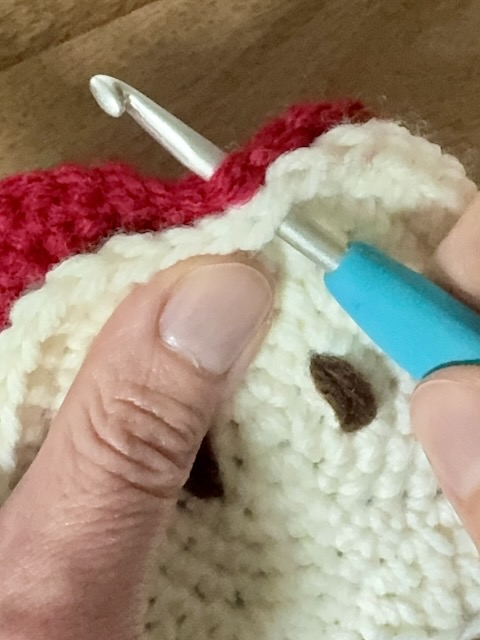
Sc around the edge of the coaster, pushing the leaf and stem toward the back as you go. When you get back to end of the round, invisible FO or sl st join, cut the yarn and weave in the ends.


Questions? Comments?